Add a New User in OxPOS: Roles, Commission, Discount
Video tutorial: create an OxPOS user with a temporary password, custom cashier role, salary, commission and discount limit, then log in with company code.
Before you hand the cashier to anyone, give them their own account with the right permissions. This three-minute lesson shows how to create a new user in OxPOS, with a temporary password they change on their first login.
Step by step
- Open user management. You’ll see a summary of your current users.
- Create the user. Enter their name and email.
- Set a temporary password and require them to change it at first login.
- Choose the role. Pick a role such as cashier, or set custom permissions that decide exactly which screens they can see.
- Enter salary, commission and discount limit. The monthly salary, their commission rate and the maximum discount they can give.
- Save. A confirmation message appears.
- Log in as the new user with the company code, email and password to check it works.
- Confirm the user is in the list.
Key points
- Every user logs in with the company code + email + password.
- The discount limit stops cashiers giving discounts without permission.
- Commission is calculated automatically on each employee’s sales.
- Custom roles decide exactly which screens a user can see.
Security tip
Never share one account between several employees. Every sale should be credited to the person who made it, so your reports and commissions are accurate.
Next lesson
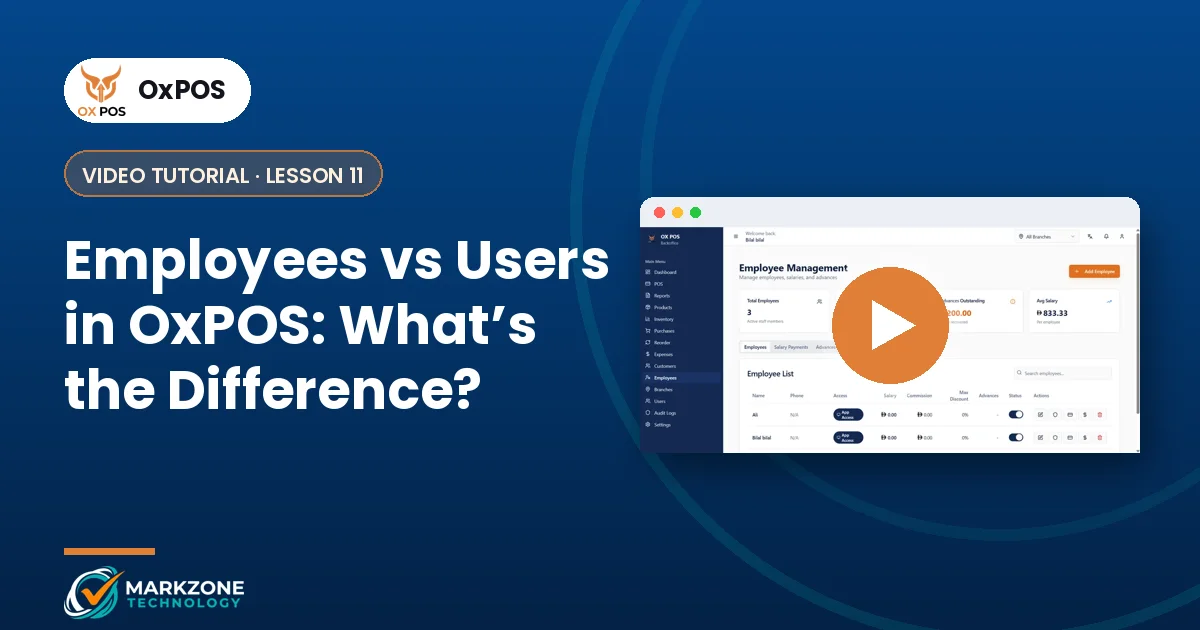
Confused about the Employees and Users sections? Watch employees vs users in OxPOS. All lessons are on the video tutorials page.
Need help planning roles for a multi-branch team? Message our team on WhatsApp.